DIY: Wallow in 90s nostalgia with the choker trend
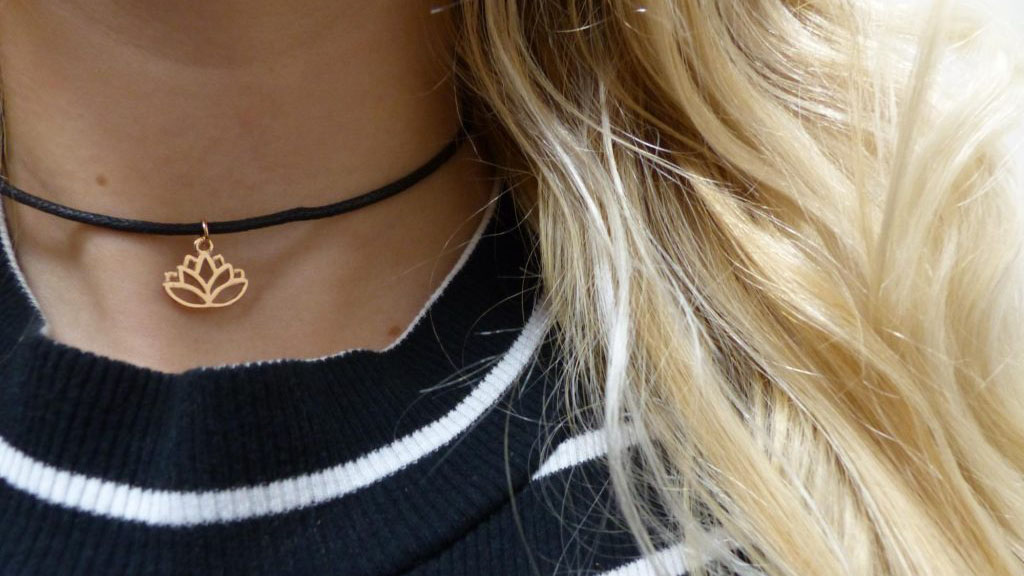
In case you haven’t heard, the 90’s are back, and they’re here to stay. So juxtapose that brand new iPhone 7 with an accessory straight from the Spice Girl’s archive: the choker. In the Instagram words of Taylor Swift, “I feel like maybe chokers are the new flower crowns?” No questions asked, autumn is upon us and this trend is sliding right from Summer ’16 into the crisp, cool days of the approaching new year. So cut some costs and add some originality to the sensation by “DIY-ing” your own choker.

Materials

Suede leather cord, scissors, measuring tape, jewelry pliers, 1 clasp, E6000 glue, a couple small jump rings, two small crimp closures, charm of your choice

image00

Step 1

Measure your neck and cut the cord to the appropriate length. It’s usually best to make your length a few centimeters longer than the actual circumference of your neck. Sometimes fashion hurts, but breathing is always a necessity.

image07

Step 2

Pick out your charm! Head to Michael’s or look online at Amazon or Etsy for some one-of-a-kind accessories to make your choker unlike any other. Attach your charm via a jump ring, using the small pliers.

image08

Step 3

Attach your crimp closures. Use a dot of glue to attach a closure to each end. Use the pliers to tighten the grip. Attach a jump ring to each closure.

image10 image05

Step 4

Using the pliers, attach a clasp to one end in order to complete the closure. Let dry, and you have a personal accessory fit for a 90’s queen!

image09

Comments are closed.